Marie Callender’s pie crusts offer a convenient and delicious shortcut for homemade pies. Known for their tender, flaky texture, these crusts are perfect for sweet or savory creations. This guide provides essential tips and techniques to ensure perfectly baked pies every time, elevating your baking experience with ease.
Overview of Marie Callenders Pie Crust
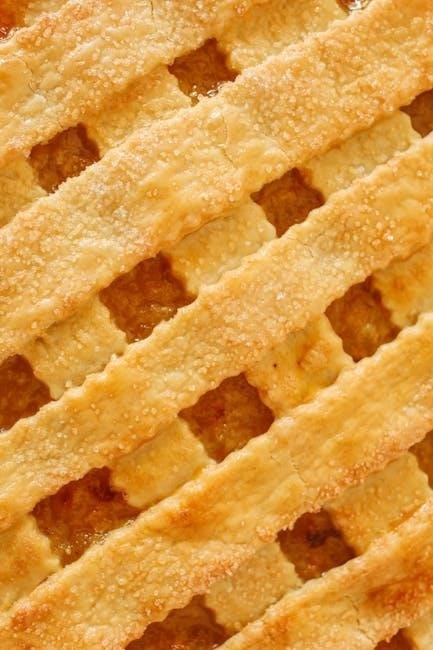
Marie Callender’s pie crusts are renowned for their tender, flaky texture and buttery flavor, making them a versatile base for both sweet and savory pies. Made from scratch with simple ingredients like butter, water, and flour, these crusts offer a homemade taste without the effort. They are pre-made to save time, yet customizable for any recipe. The crusts are designed to be easy to thaw and bake, ensuring a golden finish every time. Perfect for beginners and experienced bakers alike, Marie Callender’s pie crusts are a trusted choice for creating delicious, memorable pies.
Importance of Proper Baking Techniques
Proper baking techniques are crucial for achieving a perfectly baked Marie Callender’s pie crust. Thawing the crust correctly ensures pliability, while preheating the oven guarantees even cooking. Pricking the crust and using pie weights prevent air bubbles and shrinking. Brushing with egg wash enhances browning and texture. Adhering to temperature and time guidelines helps avoid underbaking or overbrowning. These steps ensure a flaky, golden crust, forming the perfect foundation for any filling. Attention to detail elevates the overall quality, making each pie a delightful culinary experience.
Thawing and Preparing the Crust
Thaw Marie Callender’s crust at room temperature for 15-20 minutes. Place on a baking sheet, prick with a fork to prevent air bubbles, and prepare for filling.
Step-by-Step Thawing Instructions
To thaw Marie Callender’s pie crust, remove it from the freezer and let it sit at room temperature for 15-20 minutes. Ensure the crust remains in its packaging during thawing to maintain moisture. Once pliable, carefully unwrap and place on a lightly floured surface or baking sheet. Avoid direct sunlight or heat, as this can cause uneven softening. The crust is ready to use when it feels flexible and easy to shape. Proper thawing ensures the crust bakes evenly and maintains its flaky texture.
Preparing the Crust for Baking
Once thawed, prick the bottom and sides of the crust with a fork to prevent air bubbles during baking. Place the crust on a baking sheet lined with parchment paper for stability. If blind baking, fill the crust with pie weights or dried beans to maintain its shape. Brush the edges with a beaten egg or milk for a golden finish. For filled pies, ensure the crust is filled evenly and avoid overfilling. Chilling the crust in the fridge for 10-15 minutes before baking can help prevent shrinkage and promote a flaky texture.
Oven Preparation and Baking Basics
Preheat your oven to 375F (190C). Place the pie on a parchment-lined baking sheet. Thaw the crust for 10-15 minutes before baking for a golden finish.
Preheating the Oven
Preheat your oven to 375F (190C) before baking a Marie Callender’s pie crust. Ensure the oven is fully preheated for consistent baking results. Place the crust on a parchment-lined baking sheet to prevent sticking. If blind baking, prick the bottom with a fork to avoid air bubbles. Bake for 12-15 minutes until golden brown. For filled pies, follow recipe-specific baking times. Always monitor the crust to prevent over-browning, especially the edges. Proper preheating and placement are key to achieving a perfectly baked crust.
Placing the Crust on a Baking Sheet
Place the Marie Callender’s pie crust on a lightly greased or parchment-lined baking sheet to ensure easy removal after baking. Position the crust in the center of the sheet for even heat distribution. Avoid stretching or pulling the crust, as this can cause it to shrink during baking. If blind baking, prick the bottom with a fork to prevent air bubbles. For filled pies, gently pour your filling into the crust before placing it on the baking sheet. Ensure the sheet is large enough to accommodate the crust without overcrowding for the best results.
Blind Baking the Crust
Blind baking involves baking the crust without filling. Prick the bottom with a fork, line with parchment, and add pie weights. Bake at 375°F for 12-15 minutes until golden.
What is Blind Baking?
Blind baking is a technique where the pie crust is baked without a filling. This method is essential for pies with unbaked fillings, like cream or custard. To blind bake, prick the crust with a fork to prevent air bubbles, line it with parchment paper, and fill with pie weights or dried beans. Bake at 375°F for 12-15 minutes until golden. This step ensures the crust is fully cooked and prevents sogginess, making it a crucial step for a perfect pie.
When to Use Blind Baking
Blind baking is necessary when your pie filling doesn’t require baking, such as cream or custard fillings. It’s also useful when the filling has a shorter baking time than the crust. To blind bake, prick the crust with a fork, line it with parchment paper, and fill with pie weights or dried beans. Bake at 375°F for 12-15 minutes until golden. For filled pies requiring baking, partially blind bake the crust first to prevent sogginess. This ensures a perfectly cooked crust every time, whether for sweet or savory creations.
Common Problems and Solutions
Common issues include crusts browning too quickly or underbaking. Solutions involve covering edges with foil to prevent over-browning and ensuring proper baking times for a perfectly cooked crust.
Preventing Crust from Browning Too Quickly
To prevent the crust from browning too quickly, cover the edges with foil or a pie shield during baking. This redirects heat, ensuring even cooking. If using foil, crimp it tightly around the edges to avoid gaps. Alternatively, lower the oven temperature by 10-15 degrees or place the pie on a lower rack to reduce direct heat exposure. Brushing the crust with a little milk or water instead of egg wash can also help moderate browning. Keep an eye on the pie during the last 10 minutes of baking and cover edges if necessary.
Ensuring the Crust is Fully Baked
To ensure the crust is fully baked, check for a golden-brown color and a firm texture. Avoid underbaking, as this can lead to a soggy crust. Bake according to package instructions, typically 12-15 minutes for an empty crust or 40-50 minutes for a filled pie. Use a pie crust shield or foil to protect edges while allowing the bottom to cook thoroughly. For filled pies, ensure the filling is bubbly and the crust is lightly browned on the bottom. Proper baking ensures a crispy, well-cooked crust for your pie.
Baking Tips and Tricks
- Use pie weights to ensure even baking and prevent air bubbles.
- Brush the crust with an egg wash for a golden finish.
- Chill the crust before baking to prevent shrinking.
Brushing the Crust for a Golden Finish
Brushing the crust with an egg wash or milk enhances both appearance and texture. Beat an egg with a splash of water or use milk, then gently brush the mixture over the crust before baking. This step adds a shiny, golden finish and helps the crust brown evenly. For an extra touch, apply the egg wash after placing the crust on the baking sheet but before adding filling or baking. This simple technique ensures a professional-looking pie crust every time, making your baked goods stand out.
Using Pie Weights for even Baking
Using pie weights ensures even baking and prevents the crust from bubbling or shrinking. Place the weights evenly over the crust before baking to maintain its shape. Bake for 10-12 minutes with the weights, then remove them to allow the crust to finish baking evenly. This method guarantees a flat, well-cooked base for your filling. For added security, dock the crust with a fork before adding weights to release steam and prevent air pockets, ensuring a perfectly baked pie crust every time.
Special Considerations for Different Pies
Marie Callender’s pie crusts work beautifully for both sweet and savory pies. Adjust baking times for filled pies, as they may require longer to ensure the filling is fully cooked.
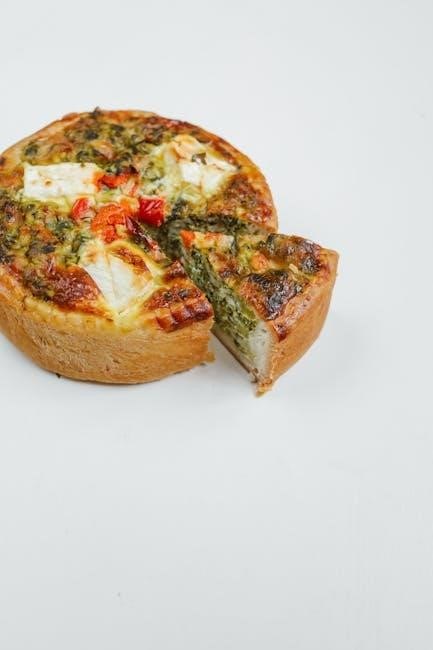
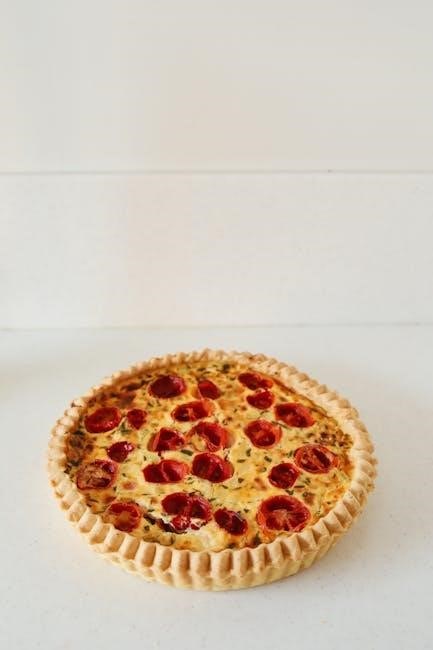
Sweet vs. Savory Pie Crusts
Marie Callender’s pie crusts are versatile and suitable for both sweet and savory pies. Sweet pies, like apple or pumpkin, pair perfectly with the crust’s buttery, flaky texture, while savory pies, such as chicken pot pie, benefit from its robust flavor. The crust’s neutral profile allows it to complement a wide range of fillings, making it a reliable choice for any recipe. Proper baking techniques ensure the crust holds up whether filled with sweet or savory ingredients, delivering consistent results every time.
Adjusting Baking Times for Filled Pies
When baking a filled pie using Marie Callender’s crust, adjust the baking time based on the filling. Preheat the oven to 375°F (190°C). For filled pies, bake for 40-50 minutes, or until the crust is golden and the filling is heated through. Monitor the pie closely to avoid over-browning. If the edges brown too quickly, cover them with foil. Ensure the filling is fully cooked before removing from the oven. Adjustments may vary depending on the filling type, so follow specific recipe guidelines for optimal results.
Baking with Marie Callender’s pie crusts is a delightful experience, offering convenience and exceptional flavor. By following proper thawing, prepping, and baking steps, you can achieve a perfectly golden, flaky crust. Remember to adjust baking times for filled pies and use techniques like blind baking for optimal results. Whether sweet or savory, these crusts provide a versatile foundation for your culinary creations. With these tips, you’ll master the art of pie-making and impress your family and friends with every delicious pie you bake.