Pioneer Mini Split Systems are highly efficient, ductless HVAC solutions offering flexible heating and cooling for various spaces. Their compact design and advanced inverter technology ensure energy savings and quiet operation, making them a popular choice for modern homes and offices.
1.1 Overview of Ductless Mini Split Technology
Ductless mini split systems, like Pioneer models, operate by connecting an indoor unit to an outdoor unit via refrigerant piping. This eliminates the need for ductwork, allowing for precise temperature control in specific zones. The system uses inverter technology to modulate compressor speed, ensuring high energy efficiency and quiet operation. The indoor unit absorbs or releases heat, while the outdoor unit dissipates or absorbs it, depending on the mode. This design enables flexible installation, minimal space requirements, and reduced energy consumption compared to traditional HVAC systems.
1.2 Benefits of Pioneer Mini Split Systems
Pioneer Mini Split Systems offer numerous benefits, including high energy efficiency, quiet operation, and flexible zoning capabilities. They provide precise temperature control, reducing energy waste by heating or cooling only the spaces you need. Their compact, space-saving design allows for easy installation in various locations without ductwork, making them ideal for renovations or additions. The systems also feature advanced inverter technology, which minimizes noise and enhances performance. With low ambient operation capabilities and quick installation, Pioneer Mini Split Systems are a cost-effective, convenient solution for modern heating and cooling needs.
1.3 Key Features of Pioneer Mini Split Units
Pioneer Mini Split Units are equipped with cutting-edge features, including advanced inverter technology for energy efficiency and quiet operation. They offer Wi-Fi capabilities for smart control via mobile devices, ensuring seamless temperature management. These systems feature multiple fan speeds and operating modes, such as cooling, heating, and dehumidification, catering to diverse comfort needs. Their compact, ductless design allows for flexible installation in rooms of various sizes. Additionally, Pioneer units boast high SEER ratings, indicating superior energy performance, and come with built-in safety features like overcurrent protection and refrigerant leak detection for reliable operation.
Pre-Installation Requirements
Ensure proper site preparation, select optimal locations for both indoor and outdoor units, and gather necessary tools and materials before starting the installation process.
2.1 Site Preparation and Location Selection
Proper site preparation is crucial for efficient installation. Select a location for the indoor unit away from heat sources, flammable materials, and direct sunlight. Ensure the area is well-ventilated and accessible for maintenance. For the outdoor unit, choose a spot with good airflow, avoiding extreme weather conditions. Verify that the location complies with local building codes and manufacturer guidelines. Ensure the ground or wall can support the unit’s weight and align the installation with the system’s specifications to optimize performance and safety.
2.2 Tools and Materials Needed
To install a Pioneer Mini Split System, gather essential tools and materials. A hole saw (2.5-3 inches) and drill are required for wall penetration. A vacuum pump, tubing cutter, and flaring tool are necessary for refrigerant piping. Insulated copper piping, drain hoses, and electrical cables (AWG 14-16) are also needed. Ensure you have a remote control, mounting brackets, and insulation materials. Additional tools include a level, measuring tape, and fasteners. Safety gear like gloves and safety glasses is recommended. Refer to the manual for specific requirements to ensure a safe and efficient installation process.
2.3 Safety Precautions and Regulations
Always comply with local and national electrical and safety codes when installing a Pioneer Mini Split System. Use an independent circuit and single outlet for power supply, ensuring proper grounding to prevent shocks. Follow all warnings and cautions in the manual to avoid serious injury or damage. Never overload circuits, as this can cause fires or electrical hazards. All electrical work must be performed by a licensed electrician. Ensure proper ventilation and keep flammable materials away. Handle refrigerants safely, adhering to environmental regulations; Wear protective gear like gloves and safety glasses during installation. Failure to follow safety guidelines may result in system malfunction or personal harm.

Indoor Unit Installation
Mount the indoor unit by attaching the plate to the wall, drilling a hole for piping, and connecting refrigerant lines and drain hose securely. Ensure it’s level.

3.1 Mounting Plate Installation
The mounting plate is secured to the wall using screws and anchors, ensuring it is level and spaced correctly. The plate must be sturdy to support the unit’s weight and allow proper drainage. Once in place, the indoor unit is hung from the mounting plate, ensuring a secure and even installation. Proper alignment prevents vibration and ensures efficient operation; Always follow the manufacturer’s guidelines for spacing and leveling to guarantee optimal performance and safety.
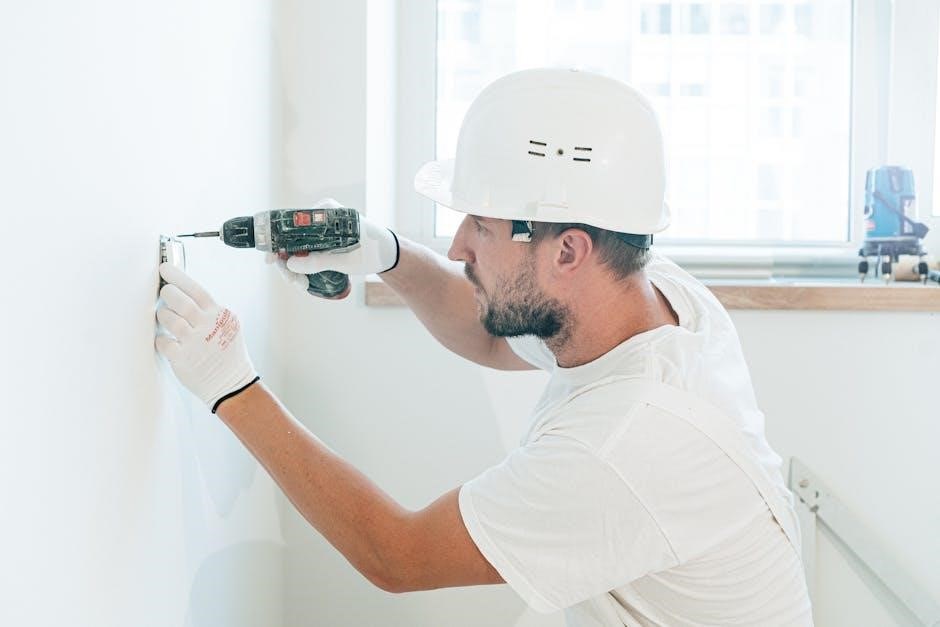
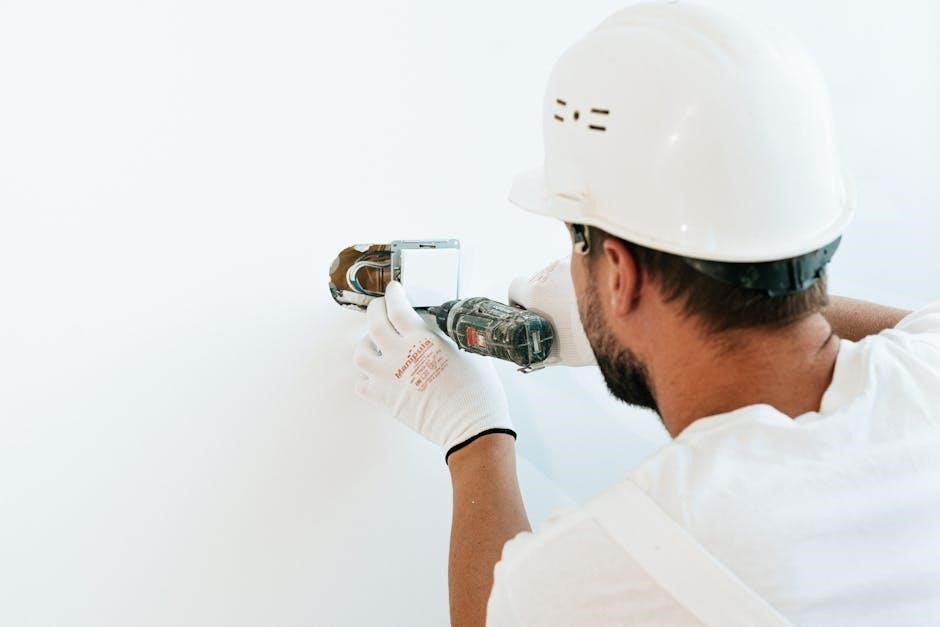
3.2 Drilling the Wall Hole for Piping
Drill a hole in the wall to accommodate the refrigerant piping and drain hose, typically 2.5 to 3 inches in diameter. Use a hole saw for a clean cut and ensure the hole is positioned behind the indoor unit. The hole should be at least 12cm (4.75 inches) from the ceiling and 15cm (5.9 inches) from any adjacent walls. Before drilling, verify there are no electrical wires or plumbing in the wall. After drilling, vacuum debris and ensure the area is clear for piping installation. Proper alignment and sizing are critical for efficient system performance and to prevent leaks.

3.3 Connecting Refrigerant Piping and Drain Hose
Connect the refrigerant piping and drain hose to the indoor unit, ensuring proper alignment and sealing. Cut the piping to the required length, flare the ends, and remove any burrs to prevent damage. Attach the drain hose securely, plugging the unused port to avoid leaks. Wrap the piping with insulation for efficiency. Connect the piping to the indoor unit, tightening all connections firmly. Ensure the piping is not twisted or kinked, as this can restrict refrigerant flow. Double-check all connections for leaks before proceeding. Proper installation ensures optimal system performance and prevents potential issues like refrigerant leaks or drainage problems.

Outdoor Unit Installation
Install the outdoor unit on a level surface, ensuring adequate airflow and protection from direct sunlight. Secure it using wall brackets or ground stands, following local regulations. Connect the refrigerant piping, drain hose, and electrical cables, ensuring tight and weatherproof connections. Proper installation ensures efficient system performance and longevity.
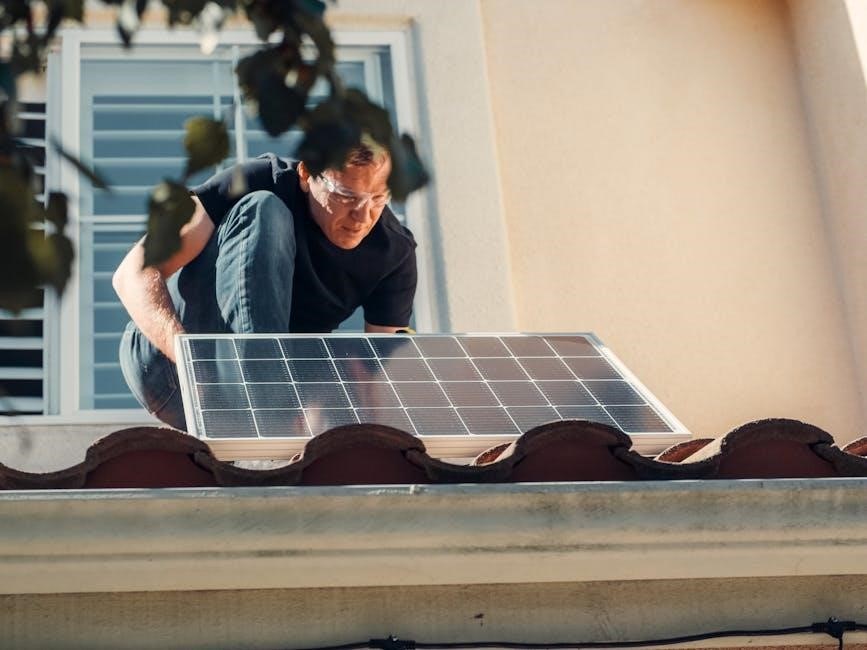
4.1 Selecting the Outdoor Unit Location
Selecting the right location for the outdoor unit is crucial for optimal performance and efficiency. Ensure the unit is placed on a level surface, away from direct sunlight, and protected from harsh weather conditions. Maintain at least 12 inches of clearance from walls and overhead obstacles to ensure proper airflow. Avoid installing near combustible materials or flammable substances; The unit should be positioned to allow easy access for maintenance and service. Ensure proper drainage to prevent water accumulation. Follow local building codes and regulations when choosing the location. Secure the unit firmly to prevent vibration or movement during operation.
4.2 Anchoring the Outdoor Unit
Anchoring the outdoor unit is essential for stability and performance. Use a sturdy base or wall-mounted bracket to secure the unit. Ensure the surface is level and firm to prevent vibration. If installing on the ground, use concrete pads for added stability. For wall mounting, attach the bracket firmly using anchor bolts. Ensure the unit is level and plumb to avoid operational issues. Check for proper drainage to prevent water pooling. Secure the unit tightly to withstand wind and weather conditions. Follow the manufacturer’s guidelines for anchor placement and torque specifications. Proper anchoring ensures safe operation and extends the system’s lifespan.
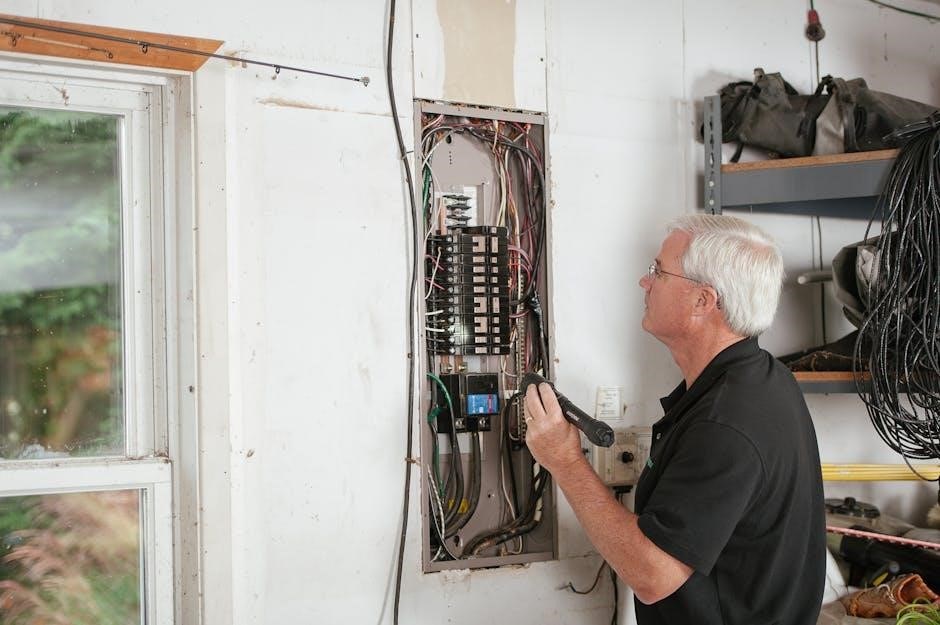
4.3 Connecting Electrical and Signal Cables
Connect electrical and signal cables carefully to ensure proper communication between indoor and outdoor units. Use the correct cable size and type, as specified in the manual, to avoid power issues. Route the signal cable separately from power cables to prevent interference. Match wire colors to the terminal block labels on both units for accurate connections. Secure all cables with cable ties to maintain organization and safety. Ensure all electrical work complies with local and national codes. Hire a licensed electrician if unsure. Double-check connections before powering on the system. Always turn off the main power supply before performing any electrical work to avoid risks.
Final Connections and Testing
Complete all connections, including wrapping piping and cables for protection. Power on the system and test functionality. Check for proper operation and address any issues promptly.
5.1 Wrapping Piping and Cables
Wrapping piping and cables is crucial for protecting them from environmental damage. Use insulation sleeves or PVC tape to cover exposed lines, ensuring a weatherproof seal. This step prevents moisture ingress and UV degradation; Secure the wrap tightly around the piping and cables, avoiding gaps where pests might enter. Properly wrapped connections enhance system efficiency and longevity, reducing the risk of leaks or electrical issues. This protective measure is essential before finalizing the installation and powering on the unit. Always follow manufacturer guidelines for recommended materials and techniques.
5.2 Powering On and Testing the System
After completing all connections, power on the system by plugging in the units and ensuring the circuit breaker is switched on. Verify that both indoor and outdoor units are operating. Use the remote control to test basic functions, such as Cooling, Heating, and fan speeds; Check for proper airflow and ensure there are no unusual noises. Inspect all connections for leaks or loose wiring. If the system displays error codes, refer to the manual for troubleshooting guidance. Allow the system to run for at least 15 minutes to ensure optimal performance and stability.
5.3 Troubleshooting Common Issues
Common issues with Pioneer Mini Split Systems include error codes, insufficient cooling/heating, or noisy operation. If the system displays an error code, refer to the manual for specific solutions. Check for refrigerant leaks, improper piping connections, or blocked air vents. Ensure all electrical connections are secure and meet local codes. If the outdoor unit isn’t functioning, verify power supply and signal cable integrity. For persistent issues, consult a licensed technician; Regular maintenance, such as cleaning filters, can prevent many problems. Always follow safety guidelines when troubleshooting to avoid electrical hazards or system damage.